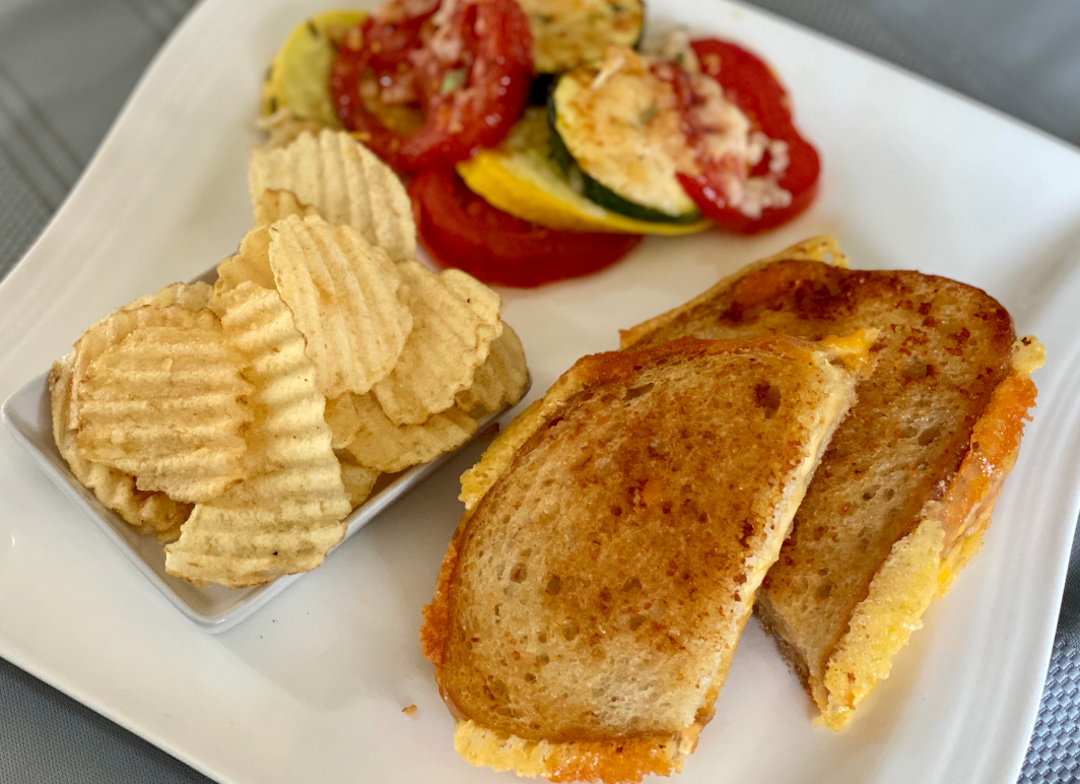
I used this method to serve grilled cheese sandwiches to a crowd for my youngest granddaughter’s 4th birthday. Oh, how I miss the intermingling and running around without masks. No social distancing back then, so the kids could bounce into each other without fear. We had a nice mix of toddlers and adults. Although the adults were outnumbered, I think we held our own. Barely. What fun it was!
CRISPY OUTSIDE

You don’t need to save this sheet pan method for crowds. I have also used my toaster oven to make just one or two sandwiches this way rather than using the stove top. When finished, I just wad up the foil and throw it away—no scrubbing of melted cheese stuck to a pan.
I remember a time when my son and one of his friends were visiting and I made grilled cheese on the stove top and I apologized for burning the sandwiches. Son Karl said, “That’s okay, Mom, you always burn them.” Yep, for some reason, I almost always “overcooked” grilled cheese sandwiches. That was one of those times when hubby Allen would just say, “It’s okay, I like them charred like this.” This method is more efficient and effective for me and I have no more burnt sandwiches.
ENDLESS VARIATIONS

You can modify these any way you like. Use cheddar, gouda, swiss, co-jack or any favorite cheese. Tap into your inner chef and get as creative as you like with the spreads and additions. Slather on barbecue sauce, mustard, pesto, fig jam. Add ham, pastrami, salami, caramelized onions. Change out the usual white bread for sourdough, pumpernickel, swirled rye. There are unending possibilities.
USE AN ASSEMBLY LINE
Prep the sheet pan by covering it completely with foil and spray it lightly with cooking oil spray. This keeps any wayward melted cheese from sticking to the foil. Line the bread up assembly-line fashion, putting the two pieces of each sandwich on top of each to start. Leave enough space between pairs to enable flipping the top piece of bread off after buttering it.


PREP AHEAD AND BAKE WHEN READY
I love to combine the butter with parmesan cheese. I have also tried these with mayonnaise instead of butter, but my preference is the butter-parmesan combo. Spread the butter on the top layer of bread and put it buttered side down on the foil lined pan. Continue with all the bread. Then place the cheese and other fillings on the side that is buttered. If you are adding pesto, mustard, or other condiments, spread that on the unbuttered bread. Flip the second bread slice over top of the filling, then spread all those pieces with the butter mixture.
These can be held at room temperature for up to two hours, covered with foil. You can also make these ahead and keep them in the refrigerator, tightly covered with foil, for up to 24 hours. When ready to bake, preheat the oven to 450 degrees and remove the foil cover. Make sure the oven comes up to temperature before baking. Slide the tray of sandwiches into the hot oven and bake for 5-6 minutes. Take the tray out and turn each sandwich over using tongs. Place the sandwiches back in the oven for an additional 5-6 minutes, or until golden. In my oven, I need to bake these on the bottom rack. If I have more than one tray, I reverse the two sheet pans after flipping the sandwiches over.

That’s it—lots of sandwiches ready all at once with no one mumbling about waiting.
(Recipe modified from Landolakes.com)

Sheet Pan Grilled Sandwiches
- 1/2 cup butter
- 1/3 cup shredded Parmesan cheese
- 16 slices cheese
- Add ins of choice: deli meat, caramelized onions, sliced onions, sliced tomatoes, pesto, mustard, barbecue sauce, jam
- 8 slices good bread
Preheat oven to 450 degrees.
Combine butter and Parmesan cheese in small bowl; set aside. Line a sheet pan with foil, covering completely. Spray foil lightly with cooking oil spray.
Place bread slices, two by two, on foil, leaving space between each pair. Spread butter mixture on top 4 slices. Flip each top slice over next to its mate. Layer cheeses, meats, onions on the bread that is buttered-side down. Spread any additional condiments on empty bread slice, and then put it on top of the layered cheesy side. Spread the last of the butter mixture on top of all slices. Bake in hot oven for 5-6 minutes, remove sandwiches from oven. Flip each sandwich over and return to oven. Continue baking for an additional 5-6 minutes or until golden brown and melty.


A great method when you have a group to serve.
yes, it has worked well in the past.